Arduino, electronics and building your own devices
From your first electric circuit and C++ program to devices, automation and your own printed circuit board.
Workshop overview
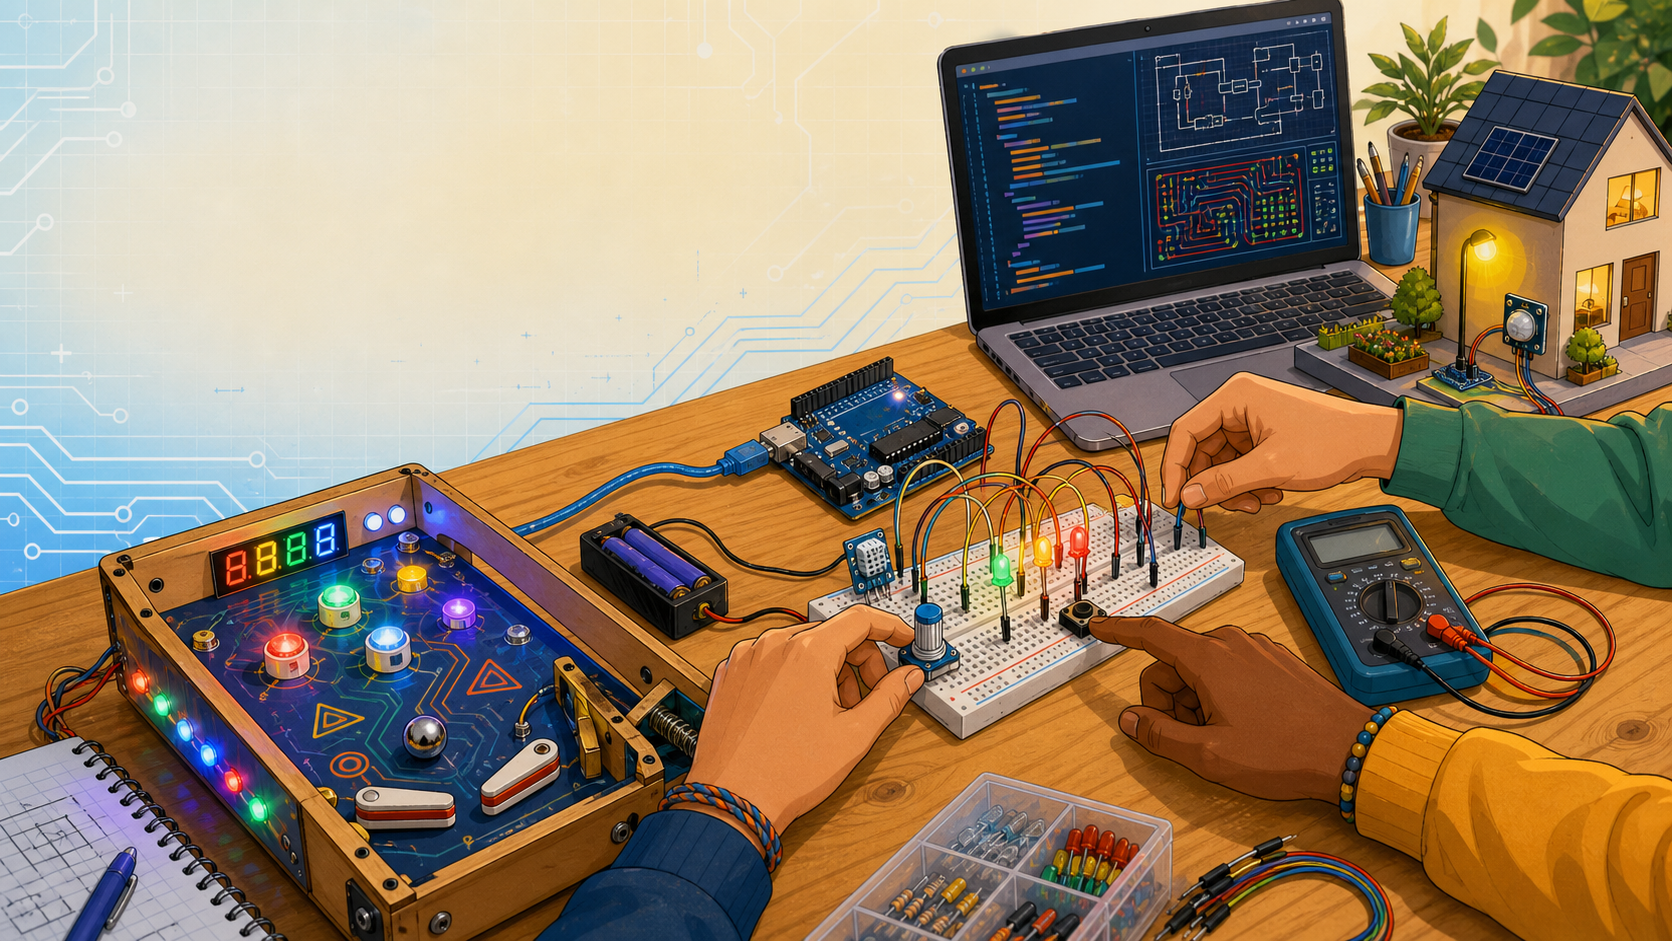
In the workshop we won’t just program the Arduino and switch on LEDs. We will learn how real electronic devices are made: from the first idea and a simple schematic, through a prototype on a breadboard, to the program, testing and making our own printed circuit board.
The main theme of the workshop will be building parts of our own device and projects inspired by home automation. We will build lights, push buttons, sensors, sound effects, score displays, alarms, automatic responses and other modules that can be connected into a larger working device.
We will work hands-on: we’ll get to know a new idea briefly and then try it out straight away in a real circuit or program.
What will we learn?
The workshop combines electronics, programming, construction and problem solving. Every topic will be used in real projects, not just as theory.
Electronics basics
We will get to know the basic concepts needed to understand electronic circuits:
- What voltage, current, resistance and power are
- How a closed circuit is formed
- How to use batteries, USB power and bench power supplies safely
- What a short circuit is and how to avoid it
- How LEDs, resistors, push buttons, buzzers, potentiometers and sensors work
- How to use a breadboard to build and test a prototype quickly
- How to use a multimeter to measure voltage, resistance and continuity
We will learn to tell the difference between components that conduct or limit current and those that can react to light, touch, temperature, movement or position.
Analogue electronics
An analogue signal isn’t just on or off. It can have many different values.
We will work with examples such as:
- A potentiometer for adjusting a value
- A photoresistor (LDR) that detects the amount of light
- A thermistor or a temperature sensor
- The Arduino’s analogue input
- PWM control of LED brightness or motor speed
- Simple circuits with transistors and MOSFETs
For example, a light sensor can detect that the model room has gone dark, and the Arduino can then switch on the LED lighting. The same principle can control a lighting effect in the device we are building.
Digital electronics
Digital circuits work with clear states, usually on and off, or the logic values 0 and 1.
We will learn how to use:
- Push buttons and switches
- The Arduino’s digital inputs and outputs
- Pull-up and pull-down resistors
- Push button debouncing
- Microswitches to detect what is happening in the device we are building
- Digital sensors and communication modules
- Buzzers, displays and LED indicators
- Serial communication for monitoring values and finding bugs
In the device we are building, a microswitch will, for example, tell the Arduino that a target has been hit. The Arduino can then add points, switch on a lighting effect, play a sound and show the score on the display.
Arduino and C++
The Arduino will be the central microcontroller of our projects. It can read sensors and push buttons, run the program logic and control lights, sound, displays and other outputs.
We will program in C++, adapted for working with Arduino microcontrollers. Every Arduino program, often called a sketch, has a setup() function that runs once at start-up and a loop() function that then runs over and over again.
We will learn:
- The structure of an Arduino program:
setup()andloop() - Variables, data types and basic arithmetic
- Conditions:
if,elseand comparisons - Loops and repeating actions
- Functions for organising larger programs
- Working with digital and analogue inputs and outputs
- Time,
millis()and programming without needlessly stopping the program - Managing the state of a game or a device
- Serial output for testing and debugging
- The basics of working with libraries
We won’t just copy ready-made programs. We will practise reading code, changing it, testing the result and finding the mistake when the device doesn’t work as we expect.
Arduino IDE and Visual Studio Code
For the first steps we will use the standard Arduino IDE, because it allows a quick and simple start.
Later we will get to know Visual Studio Code with the PlatformIO extension. It is a development environment that makes it easier to organise larger projects, manage libraries and work with several microcontroller boards.
In PlatformIO we will learn:
- How to open and organise a project
- How to choose the board and the framework
- How to compile a program and upload it to the Arduino
- How to add and use libraries
- How to read compiler error messages
- How to use the serial monitor
- How to keep the code easy to read when the project grows
The Arduino IDE and VS Code are not rivals. We will use the Arduino IDE for an easy start and quick testing, and VS Code with PlatformIO when the project grows and we need better organisation and development tools.
Building a game device
One of the main project goals of the workshop will be building parts for our project device. We won’t try to build the whole device in one go. We will build it step by step, module by module.
Possible modules include:
- Push buttons for control
- Microswitches for detecting target hits
- Lighting effects and bonus lights
- Sound effects using a piezo buzzer or a sound module
- A score counter
- An OLED or LCD display for showing the score
- A countdown timer and the game state
- Sensors for triggering special events
- A servo motor or another small moving mechanism
- The case, ramps, obstacles and scoring zones
The chosen project is a good one because it combines many small systems into one whole. One part might read a push button, another controls the LEDs, a third keeps the score and a fourth handles the sound.
The system isn’t finished when each part works on its own, but when all the parts work reliably together.
Home automation
The second project direction will be home automation. We will build safe low-voltage models of a smart room or a smart house.
Examples of possible projects:
- An automatic light that switches on when it gets dark
- An alarm that reacts when a door or window is opened
- A temperature sensor and a display of the measured value
- A system that warns you if a room is too hot or too cold
- An automatic fan in a model room
- A system for monitoring light, sound or movement
- A simple control panel with push buttons, LED indicators and a display
We will learn how sensors provide data, how the program makes a decision and how the microcontroller controls an output device.
We will only work with low-voltage models and a safe power supply. We won’t connect the Arduino on our own to household sockets, mains voltage or real household electrical installations.
From prototype to PCB
A breadboard is great for trying out an idea quickly. On it we can move wires, change a component and test different versions of a circuit without soldering.
But a breadboard isn’t a permanent solution: wires can come out, the circuit is harder to carry around, and a larger project becomes hard to follow. That is why we will learn how an idea is turned into a tidier and more permanent electronic device.
KiCad: schematics and boards
We will use KiCad, a program for drawing electronic schematics and designing printed circuit boards, or PCBs (Printed Circuit Board).
In KiCad we will learn:
- How to draw an electronic schematic
- How to find and place component symbols
- How to connect components and label the power nets
- How to check that the schematic is logical and complete
- How to choose a footprint, the physical outline of a component on the board
- How to arrange components on the PCB
- How to route the electrical connections between components
- How to add connectors, labels and mounting holes
- How to check for basic mistakes before the board is made
- How to prepare the design for manufacturing or for assembling a prototype by hand
First we will build the circuit on a breadboard, then draw it as a schematic, and then try to turn it into a simple board.
⇒ Idea ⇒ schematic ⇒ prototype ⇒ test ⇒ program ⇒ PCB ⇒ assembly ⇒ device
How will we work?
Workshops will have short introductions, but we will spend most of the time building, programming, measuring and testing.
A typical workshop might look like this:
- A short introduction or a review quiz
- Introducing one new component, concept or programming idea
- A hands-on task on the breadboard or the computer
- Testing and comparing results
- Debugging: finding and fixing problems
- Extending the basic task for more advanced participants
- Saving, recording results and planning the next step
We will work individually and in teams. What matters isn’t only who connects the circuit or writes the code fastest; what matters is that the team can explain how the circuit works, what it has tested and what it would change in the next version.
When does a project really work?
In the workshop we won’t judge a project only by whether the LED lit up once. We will also ask:
- Does the circuit work every time we switch it on?
- What happens if the user presses the push button quickly?
- What happens if the sensor gives an unexpected value?
- Can the circuit easily be connected up again?
- Are the wires and components neatly organised?
- Can we understand how the device works from the code and the schematic?
- Can we find a fault without randomly changing everything?
- Does the device use too much current?
- Are the motor, the LEDs and the Arduino powered correctly?
These are the questions that separate a demonstration from a reliable device.
What will participants be able to do?
By the end of the course, participants should be able to:
- Safely build and test a simple electronic circuit
- Recognise basic electronic components and explain what they do
- Use a breadboard, basic tools and a multimeter
- Program the Arduino in C++
- Read a push button, a potentiometer and basic sensors
- Control LEDs, a buzzer, a display and other outputs
- Understand the basic difference between analogue and digital signals
- Use the serial monitor for testing and debugging
- Organise an Arduino project in the Arduino IDE and in PlatformIO
- Draw a basic schematic in KiCad
- Design a simple PCB layout
- Work with others to build part of a larger device
- Explain why their circuit works – and how they would find the problem when it doesn’t